Sending a scanned document via email has become an essential skill in today’s digital world. Whether it’s for work, school, or personal use, knowing how to quickly convert a physical paper into a digital file can save time and streamline communication. While the process might seem technical at first, it’s surprisingly simple with the right tools and steps.
From using a traditional scanner to leveraging smartphone apps, there are multiple ways to scan and share documents effortlessly. This guide breaks down the process, ensuring anyone can confidently scan a paper and send it via email in no time.
What You Need To Scan A Paper To Email
Scanning a paper to email requires specific tools and compatible devices. These items ensure accurate document conversion and seamless sharing.
Essential Tools And Equipment
- Scanner or Scanning App
A physical scanner like a flatbed scanner or an all-in-one printer with scanning functionality is essential. Alternatives include smartphone scanning apps, such as Adobe Scan or Microsoft Lens.
- Computer or Smartphone
A computer or smartphone simplifies saving, editing, and emailing the scanned file. Smartphones are convenient when using scanning apps.
- Internet Connection
An internet connection facilitates sending the scanned document via email quickly. Both Wi-Fi and mobile data are applicable.
- Email Account
A functional email account, such as Gmail or Outlook, is necessary for sending the scanned files to recipients.
- File Management Software (optional)
Applications like Adobe Acrobat or Google Drive can help edit or compress scanned files for better compatibility with email clients.
Compatible Scanners And Devices
- Flatbed Scanners
Devices like Epson Perfection Series or Canon CanoScan models deliver high-resolution scans suitable for documents with detailed content.
- All-In-One Printers
Printers like HP OfficeJet or Brother MFC series offer integrated scanning features, making them adaptable for home and office use.
- Smartphones With Apps
Smartphone apps convert documents into high-quality PDFs or images. Examples include CamScanner, Scanner Pro, and Genius Scan.
- Tablets With Supported Apps
Tablets like an iPad running scanning apps are another option for quick scanning and email integration. Users should ensure the app supports email export.
Step-By-Step Guide On How To Scan A Paper To Email
Scanning a paper to email involves turning a physical document into a digital file and sending it through an email service. Follow these steps to complete the process efficiently.
Preparing Your Paper For Scanning
Place the paper on a clean, flat surface to prevent stains or smudges from appearing on the scan. Remove staples, folds, and creases that can interfere with the scanner’s functionality. Ensure all content on the paper is visible and aligned properly before scanning.
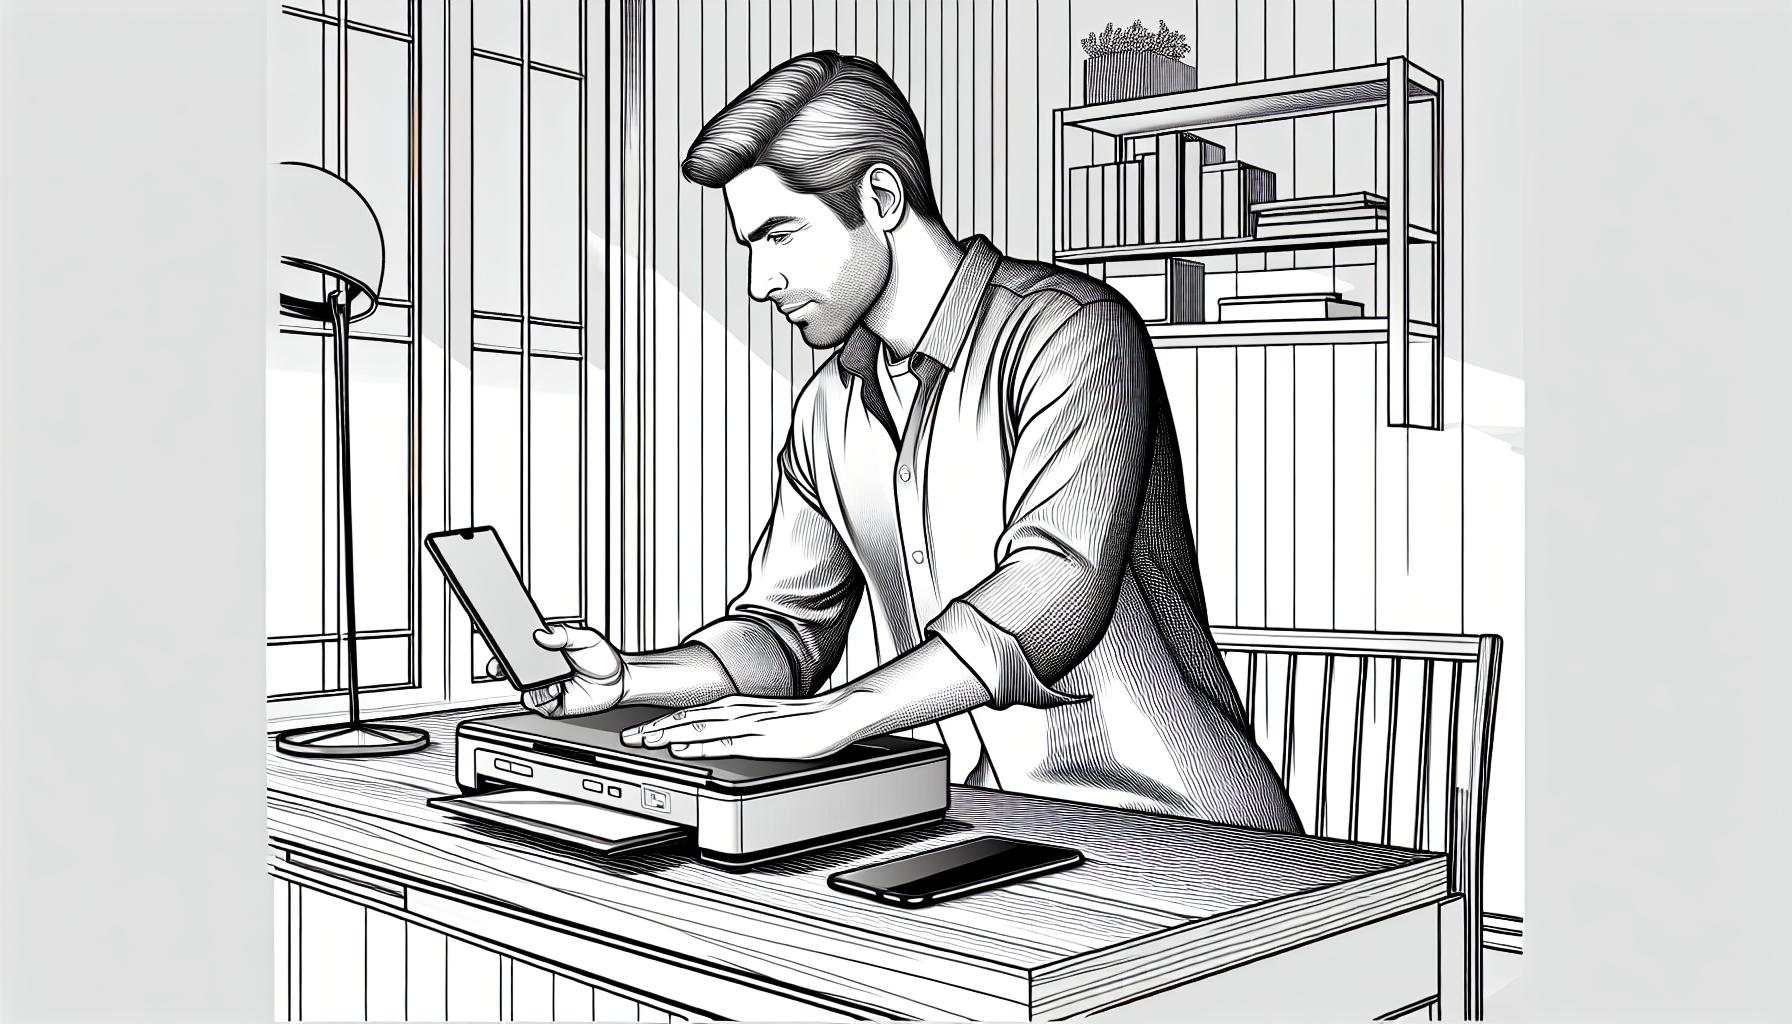
Using A Scanner To Digitize Your Paper
Switch on the scanner or open your scanning app on your phone. Place the paper face down on the scanner glass, aligning it with the guide marks. Use a smartphone app if using a mobile device; open the app and follow its instructions for capturing clear images. Start the scan by pressing the scan button on your scanner or the capture button on your app.
Adjusting Scan Settings For Optimal Results
Select the appropriate resolution, typically between 200 and 300 DPI, for standard document clarity. Choose the color mode: black and white, grayscale, or color, depending on the document type. If the scanner or app allows, crop the image to remove unnecessary borders and enhance its appearance.
Saving The Scanned Document
Save the scanned document as a PDF or image file based on your preference. Name the file clearly for easy identification, using terms like “Invoice_June2023.pdf.” Decide on the save location, like a folder on your computer, phone gallery, or cloud storage, so the file is accessible when attaching it to an email.
Sending Your Scanned Paper As An Email
Once a scanned document is saved, it’s ready to be attached and sent via email. Follow the steps below to complete the process efficiently.
Attaching The File To An Email
Open the email application or service being used. Start a new email by selecting “Compose” or a similar option. Look for the “Attach” or “Paperclip” icon. Click it to browse files saved on the computer or smartphone. Select the scanned document, and ensure it’s added to the email body as an attachment. Verify that the file is correctly uploaded before proceeding.
Choosing The Right Format For Your Document
Save the document in commonly accepted formats to ensure accessibility. PDF is recommended for its compatibility across devices and operating systems. Image formats like JPG or PNG work well for single-page documents but avoid them for multi-page files. Confirm the size of the attachment, keeping it under email size limits, often 20-25 MB. If necessary, compress the file using file management tools.
Tips For Secure And Professional Emailing
Use a relevant subject line summarizing the content, such as “Scanned Document: Invoice 12345.” Write a concise, polite message body explaining the purpose of the email. Double-check the recipient’s email address to avoid sending it to the wrong person. Protect sensitive information by encrypting the file or setting a password if supported. Avoid sending unnecessary personal details within the email to maintain privacy.
Common Issues And Troubleshooting
Scanning and emailing documents can sometimes come with challenges. Understanding and addressing these problems ensures a smoother process.
Fixing Quality Issues With Scanned Documents
Poor scan quality often results from incorrect settings or hardware malfunctions. Adjusting the resolution setting to at least 300 DPI improves sharpness. Changing the color mode to grayscale or color, depending on the document, enhances clarity. Dirty scanner glass leads to streaks or spots; cleaning it with a lint-free cloth resolves this. If using a smartphone app, poor lighting or low camera quality could cause blurriness. Ensuring good lighting and holding the phone steady eliminates such issues.
Resolving Email Attachment Problems
Large file sizes prevent successful email uploads. Compressing PDF or image files reduces their size. Free tools like Smallpdf or online compressor apps are reliable for this. If the email server rejects certain formats, converting files to universally accepted types like PDF rectifies the issue. Scanned file names should avoid special characters; renaming them with simple alphanumeric names fixes incompatibilities. Adding multiple attachments slow email loading, so combining multi-page scans into a single PDF improves efficiency. For emails not sending due to network issues, verifying a stable internet connection prevents delays.
Tips For Efficient Scanning And Sending
Following efficient practices helps save time and reduces errors in the process of scanning and emailing documents. This section provides tips to streamline organizing files and scanning on the go.
Organizing Your Digital Documents
Naming files clearly improves searchability and keeps documents easy to find. Use simple and descriptive names, such as “Invoice_001.pdf.” Avoid using special characters that might cause compatibility issues.
Creating folders for categories ensures scanned documents remain sorted. For example, create folders titled “Work,” “Personal,” or “Receipts” to store files based on purpose.
Backing up files prevents data loss. Save scanned files to cloud storage services such as Google Drive, Dropbox, or OneDrive, ensuring access from different devices.
Using Apps For Scanning On-The-Go
Scanning apps turn smartphones into portable scanners, enabling quick document digitization anytime. Popular apps include Adobe Scan, CamScanner, and Microsoft Lens, which work on both iOS and Android devices.
Adjusting app settings before scanning enhances quality. Choose higher resolution and proper color mode, ensuring text clarity and accurate images.
Opting for OCR (Optical Character Recognition) features where supported by these apps converts scanned files into editable text. This feature is especially useful for forms or typed documents.
Sharing files directly from scanning apps simplifies sending scanned documents via email. Apps often include a one-click “Share” option to attach files directly to email messages.
Conclusion
Mastering the process of scanning a paper to email is an essential skill in today’s fast-paced digital world. With the right tools, techniques, and a bit of practice, anyone can efficiently convert physical documents into digital files and share them seamlessly. Whether using a traditional scanner or a smartphone app, the process becomes straightforward when equipped with the proper knowledge.
By following best practices for scanning and emailing, users can save time, reduce errors, and ensure their documents are sent securely and professionally. With technology continually evolving, staying familiar with modern scanning tools and apps can make document management even more effortless.
Frequently Asked Questions
What is the easiest way to scan a document to email?
The easiest way is to use a smartphone scanning app, such as Adobe Scan or CamScanner. These apps allow you to scan documents using your phone’s camera, save them as PDFs, and email them directly from the app with just a few clicks.
Do I need a scanner to digitize documents?
Not necessarily. While a physical scanner or all-in-one printer works great, smartphone apps like Microsoft Lens provide a convenient alternative, allowing you to digitize documents using your phone.
What file format should I use when emailing scanned documents?
The PDF format is recommended as it ensures compatibility, preserves formatting, and is ideal for multi-page documents. Avoid using image formats for lengthy files.
How can I improve the quality of scanned documents?
Ensure the scanner glass is clean, adjust the resolution settings to at least 300 DPI for clarity, and use sufficient lighting if scanning with a smartphone app.
How can I send a large scanned file via email?
If the file size exceeds the email limit, compress it using file compression software or save it to cloud storage (e.g., Google Drive) and share the link in your email.
What apps are best for scanning documents on the go?
Popular apps include Adobe Scan, CamScanner, and Microsoft Lens. They offer features like document cropping, PDF export, and even Optical Character Recognition (OCR) for editable text.
How can I better organize my scanned documents?
Use clear and descriptive file names and create categorized folders on your device or cloud storage. This makes it easier to locate files when attaching them to an email.
Is it safe to send sensitive documents via email?
Yes, but protect sensitive information by encrypting the file or using passwords. Some scanning apps also support secure file sharing for added safety.
Why won’t my scanned file attach to the email?
This may happen if the file name has special characters or the attachment exceeds the size limit. Rename the file or compress it to resolve the issue.
Can I edit text from a scanned document?
Yes, if you save the document using OCR-enabled apps like Adobe Scan. OCR converts scanned text into editable formats, allowing you to make changes easily.
How do I back up my scanned documents?
Save scanned files to cloud storage services like Google Drive, Dropbox, or iCloud. This ensures your files are accessible from multiple devices and protected from accidental loss.
What should I include in the email when sending scanned documents?
Use a clear subject line, write a concise message, double-check the recipient’s email address, and attach the correctly named file. For sensitive documents, add encryption if needed.
Leave a Reply